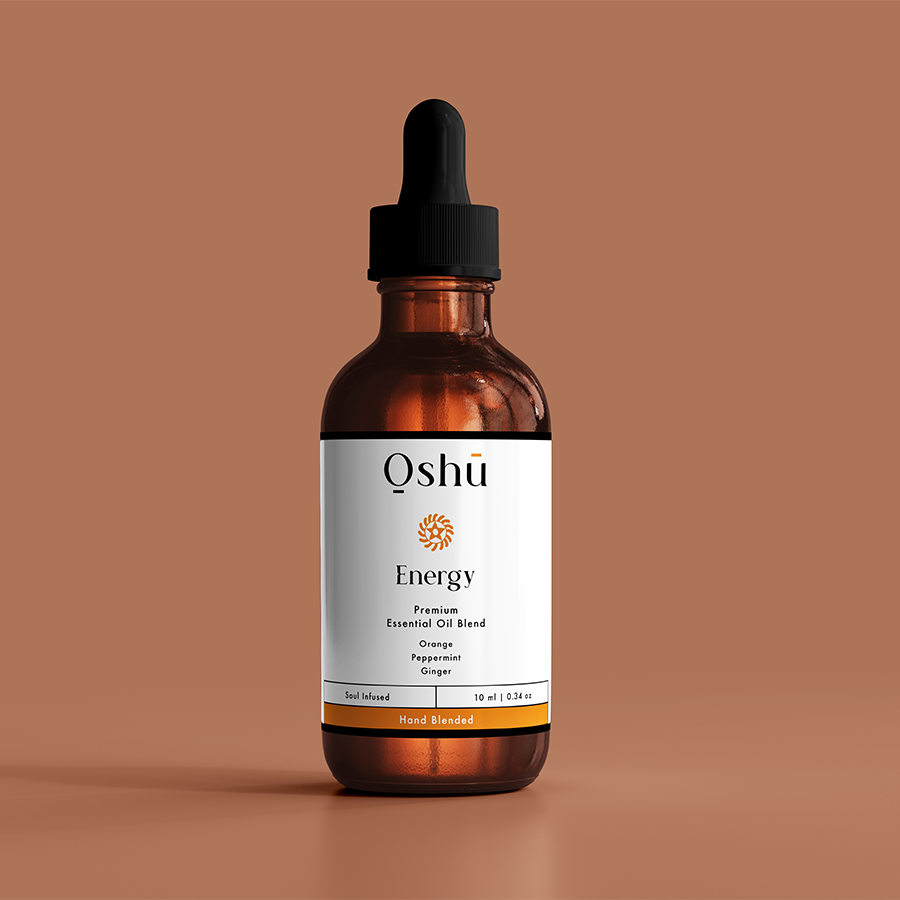
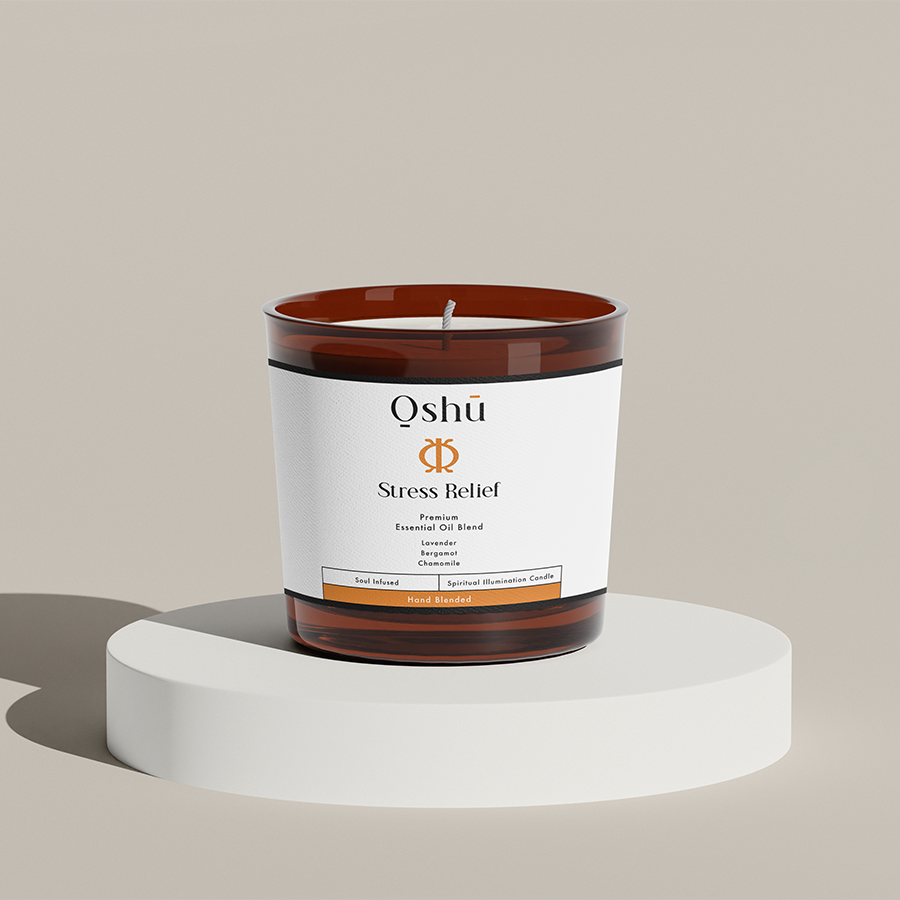
Are you searching for a creative and thoughtful gift for a loved one, or simply looking to add a new and fragrant dimension to your home? Making candles with essential oils is not only a rewarding process, but it also allows you to customize every aspect, from the scent to the presentation. Join us as we guide you through the step-by-step process of crafting your very own essential oil candle, and discover the beautiful and therapeutic power of aromacology.
Table of Contents
Choosing Your Essential Oils
First and foremost, choosing high-quality essential oils is key to creating a great candle. Consider the therapeutic properties, aroma, and your personal preferences when selecting oils. For more guidance on choosing essential oils, explore Oshu Oils’ extensive range and read our complete guide to essential oils and aromacology.
Gathering Your Supplies
Once you’ve chosen your desired essential oils, gather the following supplies:
- Essential oil of choice
- Wax (soy, beeswax, or paraffin)
- Wick (such as cotton or wood)
- Candle container (e.g., glass jar or metal tin)
- Wax melting pot or double boiler setup
- Thermometer
- Stirring stick
- Wick holder or clothespin
Preparing Your Workspace
Before you begin, set up a clean and organized workspace. Make sure you have a heat-resistant surface and keep any potentially flammable items away from your work area.
Melting the Wax
Using the double boiler method, melt your chosen wax according to the manufacturer’s instructions. It’s important to monitor the temperature with your thermometer, ensuring it remains within the appropriate range for your wax type.
Adding the Essential Oils
Once the wax is fully melted and reaches the correct temperature, remove it from heat and let it cool slightly. Next, add the essential oils, using a safe amount according to the wax and oil guidelines. Being mindful of recommended oil/wax ratios helps to achieve the optimal fragrance throw and prevents potential hazards.
Securing the Wick
While the wax cools, prepare the candle container by attaching the wick. You can use a small amount of wax or a wick sticker to anchor it to the bottom of the container. Make sure the wick is centered and straight, then use a wick holder or clothespin to keep it in place.
Pouring the Candle
After the wax has cooled to the recommended pouring temperature, carefully pour it into the container, taking care to avoid splashing or overfilling. Allow the candle to cool and solidify completely, which may take several hours or overnight.
Trim the Wick & Clean Up
Once the candle is fully set, trim the wick to approximately 1/4 inch above the wax surface. Clean up any spilled wax or other supplies, and always be sure to store any remaining materials safely.
How To Make A Candle With Essential Oils Example:
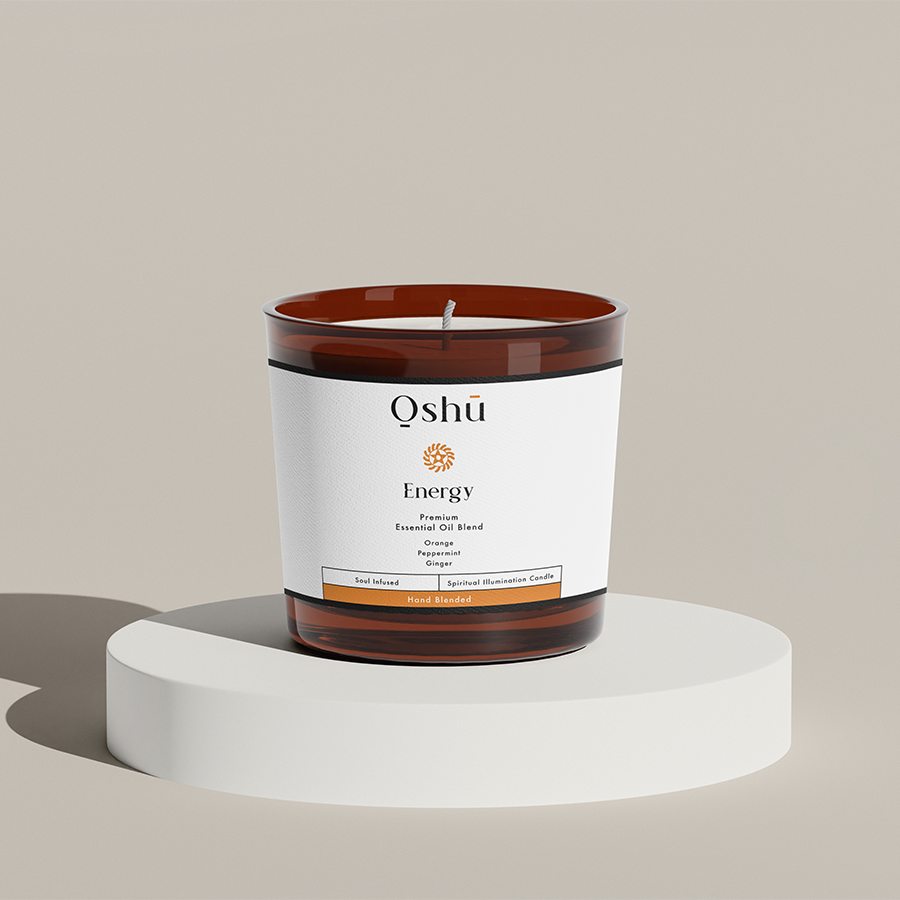
Imagine creating a soothing lavender candle to aid in relaxation. You would start by selecting high-quality lavender essential oil and gathering the necessary supplies. After choosing soy wax, you’d follow the instructions for melting it and then incorporate your carefully measured lavender essential oil. Pour your mixture into an elegant glass jar and then add a touch of dried lavender to the top. Once you light your lavender candle, allow the calming scent to envelop your surroundings and bring balance to your space.
Congratulations! You’ve just learned how to make a beautiful and fragrant essential oil candle, tailored to your unique preferences. Share this newfound knowledge with your friends and let them know they can also find more in-depth guides on Oshu Oils’ blog. Embrace the personalized aromatherapy experience of essential oil candles, and don’t forget to explore the full range of therapeutic and luxurious Oshu Oils products.


