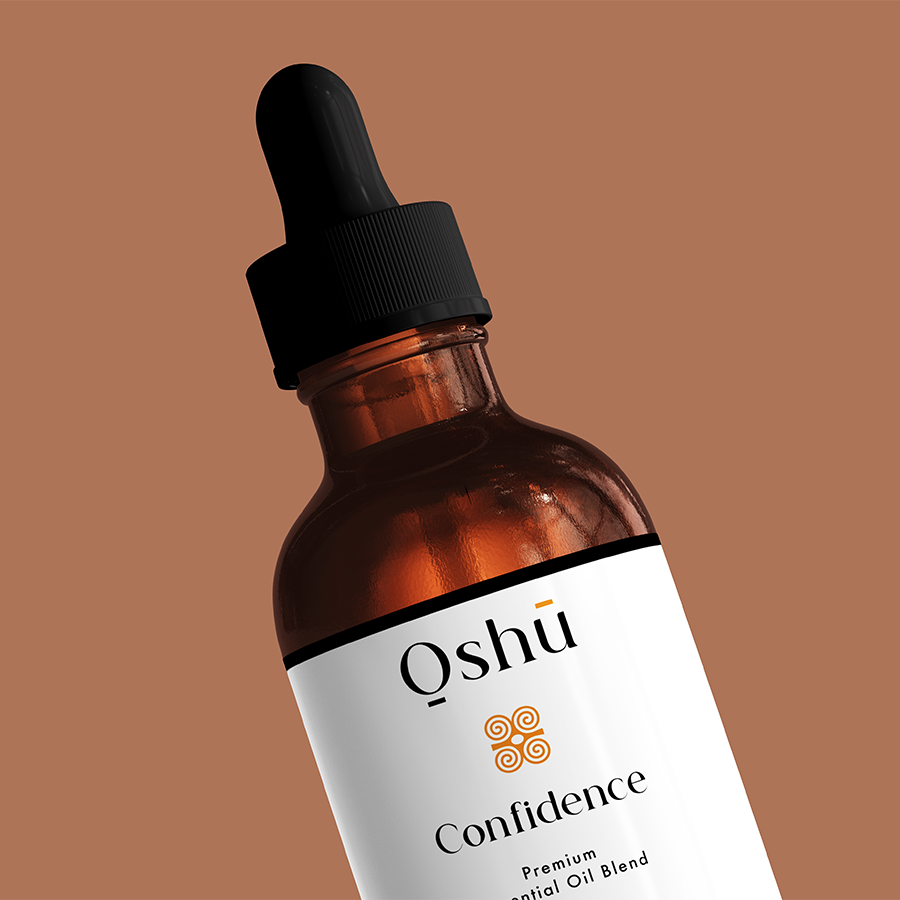
Discover the joy of crafting your own unique bag for essential oils to protect and carry your precious Oshu Oils with you wherever you go. Follow this step-by-step guide to creating a stylish and functional essential oil bag that will enhance your aromacology journey.
Table of Contents
Materials You Will Need
- Fabric of choice (cotton, linen or other breathable fabric works best)
- Matching thread
- Sewing machine (or needle and thread if hand-sewing)
- Scissors
- Measuring tape or ruler
- Pins or clips
- Elastic or ribbon
- (Optional) Button or snap fastener for closure
Step 1: Measure and Cut Your Fabric
Begin by measuring your fabric to create the desired size for your essential oil bag. You’ll want to make sure there is enough space to fit your essential oil bottles as well as any additional padding for protection. For a standard-sized essential oil bag, cut two rectangles of fabric measuring 10 x 6 inches.
Step 1.5 (Optional): Add Padding
If you want extra protection for your essential oil bottles, you can add a layer of padding between the two pieces of fabric, such as quilt batting or a thin piece of foam. Simply cut the padding to the same size as your fabric rectangles.
Step 2: Sew the Sides and Bottom
Place the two fabric rectangles right sides together (and padding, if using), lining up the edges. Pin or clip the sides and bottom. Sew along the sides and bottom with a ½-inch seam allowance, leaving the top edge open.
Step 3: Create Elastic or Ribbon Loops
Cut small pieces of elastic or ribbon for each essential oil bottle you wish to accommodate in your bag. Each loop should be large enough to fit around the bottle’s circumference with a little overlap. For example, if your bottles have a 2-inch circumference, cut 3-inch elastic or ribbon pieces.
Position the elastic or ribbon pieces along one long edge of your bag, about 1 inch down from the top. Space them evenly apart, ensuring there’s enough room between the loops to accommodate the width of your essential oil bottles. Sew each elastic or ribbon piece by stitching a small rectangle or box shape into the fabric to secure it in place.
Step 4: Finish the Top Edge and Add Closure
Fold the top edge of your bag down about 1 inch toward the inside, hiding the raw edge of the fabric. Sew along the lower edge of the fold to create a neat finish. If you’re using a button or snap fastener for closure, attach it to the center of the top edge now.
Step 5: Turn Right-Side Out and Admire Your Handiwork!
Gently push the corners of your bag out and turn it right-side out. Press it flat with an iron if necessary. Your new essential oil bag is now ready to hold your Oshu Oils in style!
How To Make A Bag For Essential Oils Example:
This beautifully handcrafted essential oil bag is made from a charming floral fabric and features elastic loops to securely hold each essential oil bottle. The fold-over top is secured with a vintage button for added charm.
Congratulations on crafting your beautiful essential oil bag! We hope this guide has inspired you to take the first steps in personalizing your aromacology experience. Don’t forget to share this article with friends and family who could also benefit from having a stylish and functional bag for their Oshu Oils collection. Now that you have a safe and fashionable way to carry your essential oils around, why not explore the rest of our aromacology guides? Or head over to our Oshu Oils collection and discover new essential oils to enhance your holistic wellbeing.

