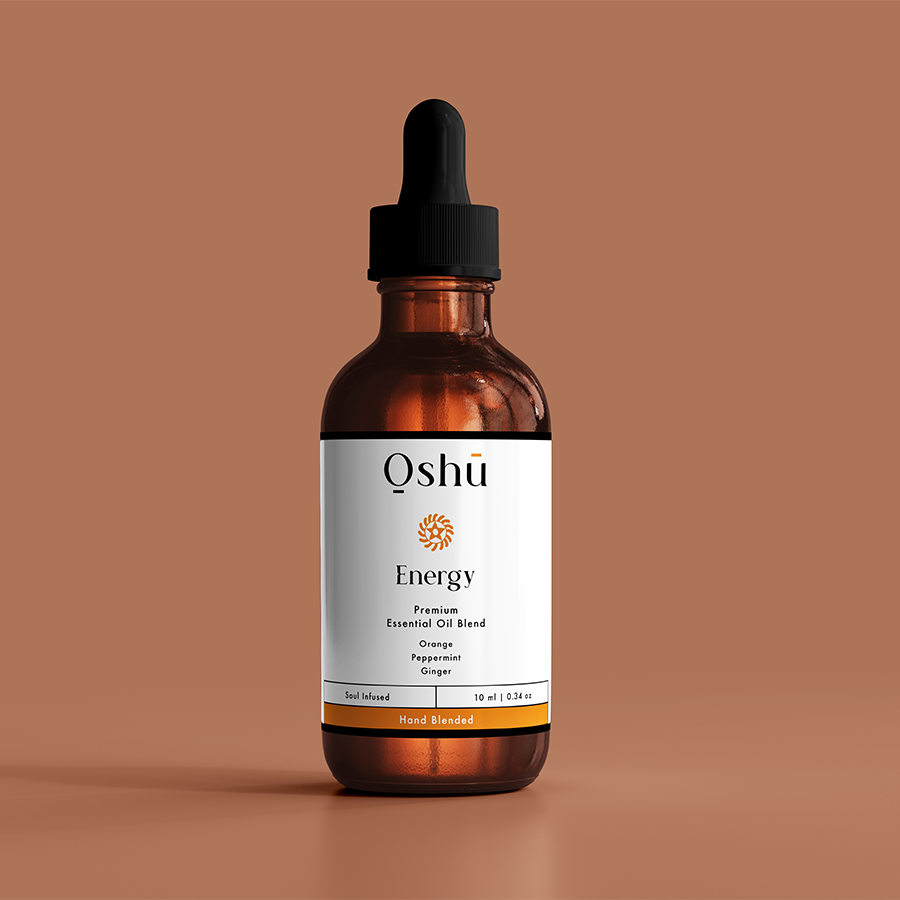
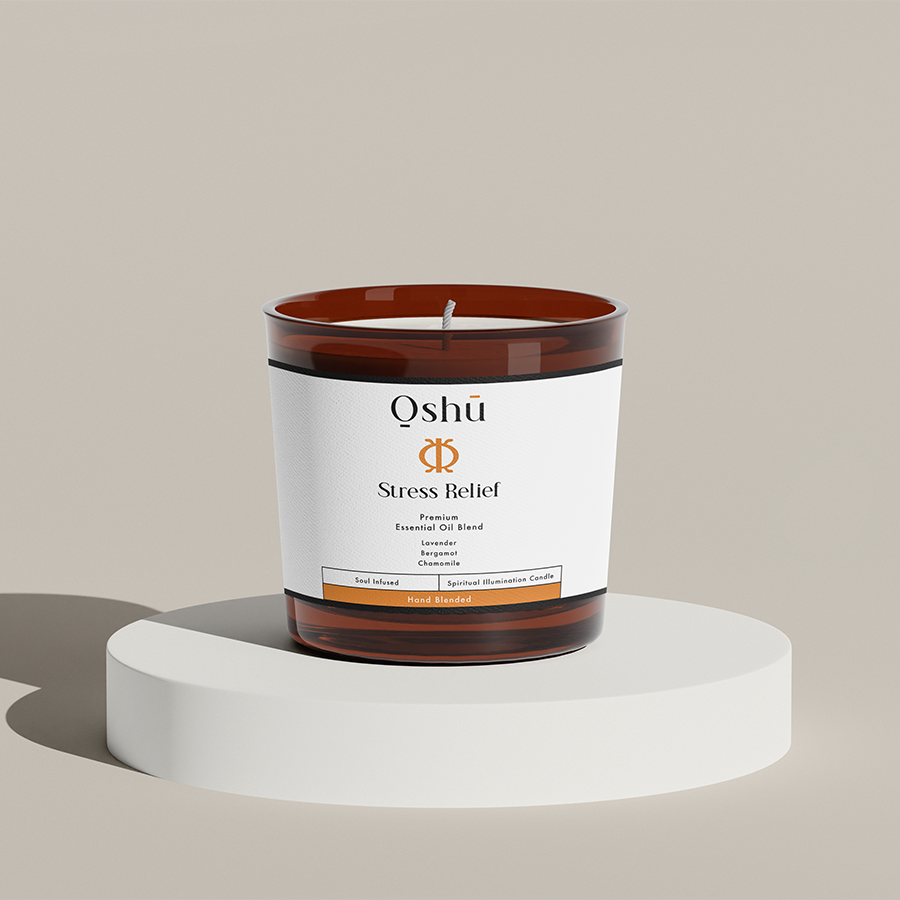
Discover the magic of handcrafting your own beeswax candles infused with the alluring scents of essential oils. Follow our step-by-step guide and create an inviting and cozy ambiance in your home while reaping the benefits of aromacology.
Table of Contents
Benefits of Beeswax Candles
Beeswax candles are an excellent alternative to traditional paraffin candles for several reasons:
- Natural and eco-friendly: Beeswax is a renewable resource from bees and is biodegradable, unlike paraffin candles, which are made from petroleum byproducts.
- Long-lasting burn: Beeswax candles have a slower and cleaner burn, which makes them last longer than other types of candles.
- Air purifying: Beeswax is known to emit negative ions when burned, which can neutralize allergens, pollutants, and odors in the air.
- Non-toxic: Beeswax candles don’t release harmful chemicals or soot into the air, making them safer for your health.
Benefits of Adding Essential Oils to your Beeswax Candles
Incorporating essential oils into your beeswax candles brings the power of aromacology to your home:
- Stress relief: Essential oils like lavender, bergamot, and chamomile can help you unwind and relax after a long day.
- Sleep aid: Aromas like lavender and ylang-ylang can aid in falling asleep and staying asleep.
- Energy boost: Citrus oils, such as lemon, orange, and grapefruit, can energize and uplift your mood.
- Improves focus: Oils like rosemary, basil, and peppermint can sharpen your focus and mental clarity.
Materials Needed
To make your own beeswax candles with essential oils, gather the following equipment and ingredients:
- Beeswax pellets or blocks
- Essential oils of your choice
- Wicks with metal tabs
- Double boiler or glass container and saucepan
- Candle molds or glass jars
- Thermometer
- Skewer or chopstick
Step-by-Step Guide for Making Beeswax Candles with Essential Oils
- Melt the beeswax: Place beeswax pellets or grated beeswax into the top of a double boiler or a heat-safe glass container over a saucepan with simmering water. Heat until the beeswax melts completely, stirring occasionally. Monitor the temperature and aim for 140-150°F.
- Prepare the wick: While the beeswax melts, prepare the wick by threading it through the metal tab. Coat the base of the wick and tab with a small amount of melted beeswax and then press the tab onto the bottom center of your mold or glass jar to secure it in place.
- Color and fragrance: Once the beeswax is melted and reaches the desired temperature, you can add a natural colorant if desired. Then, add 10-15 drops of essential oils per 1 cup of melted beeswax, stirring gently to incorporate the fragrance evenly. You can also experiment with different oil combinations to create a unique scent.
- Pour the wax: Slowly pour the melted and fragranced beeswax into the mold or glass jar, leaving some room at the top for the wax to contract as it cools. Use a skewer or chopstick to hold the wick still and centered in the candle while pouring.
- Let it cool and set: Allow the candles to cool and fully solidify, which may take a few hours or overnight. When cooled, remove the candles from the mold or trim the wick to 1/4 inch if using a glass jar.
- Enjoy your handmade beeswax candles: Light your candle and admire your handiwork! Be sure to allow the candle to burn for at least two hours the first time to ensure an even burn and prevent tunneling.
How To Make Beeswax Candles With Essential Oils Example:
Imagine cozying up in your living room on a fall evening with your own homemade lavender and ylang-ylang beeswax candle flickering nearby. The calming scents help you unwind from the day, while the warm glow of the beeswax candle adds an inviting atmosphere to your space.
Now that you know how to make your own beeswax candles with essential oils, you can enjoy the benefits of aromacology in a pure and natural way. Share this guide with your friends and family, explore more essential oil guides at Oshu Oils, and take a look at Oshu Oils’ range of premium essential oils to elevate your candle-making experience.

