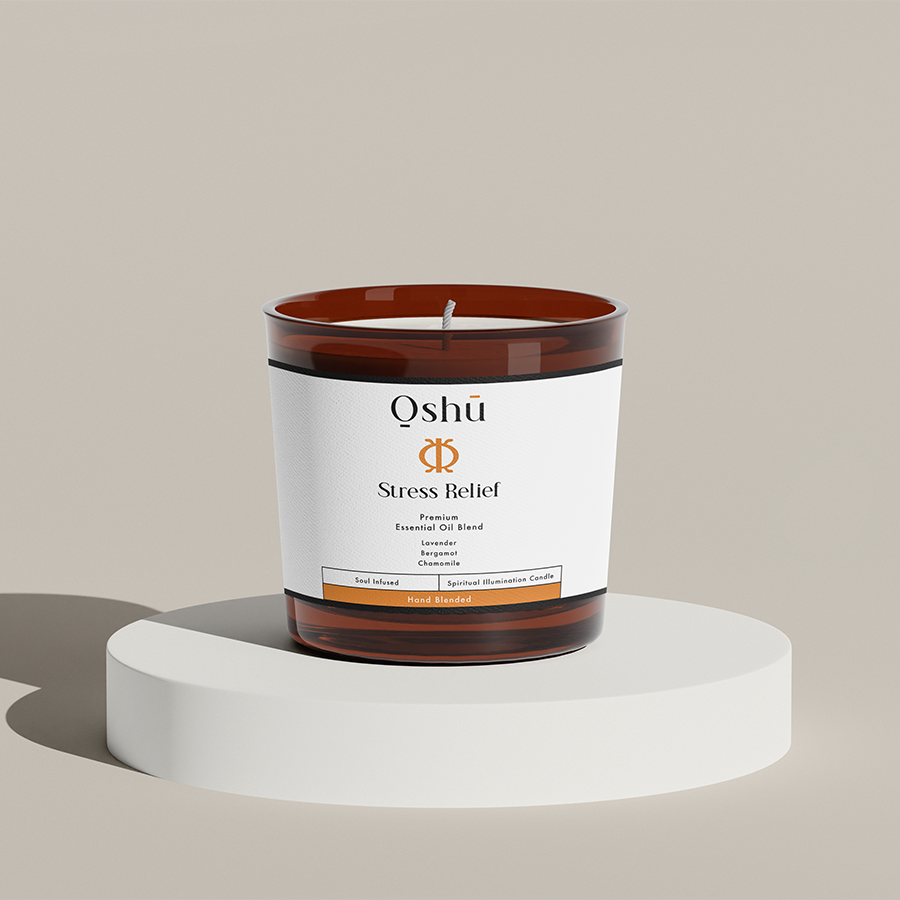
Discover the art of making soap with essential oils and enjoy the countless benefits of aromatherapy right in your daily cleansing routine. In this comprehensive guide, we walk you through the process of creating beautiful, fragrant, and wholesome soaps using essential oils and natural ingredients. Say goodbye to harsh chemicals and synthetic fragrances and embrace the power of nature with Oshu Oils.
Table of Contents
Why Make Soap with Essential Oils?
Using essential oils in soap making provides numerous benefits, from their beautiful scents to their therapeutic properties. Key reasons to create soaps with essential oils include:
- Customizable fragrance
- Therapeutic benefits of the oils
- Safe and natural ingredients
- Sustainability and eco-friendliness
- Creative outlet and a relaxing hobby
Choosing the Right Essential Oils
Before diving into soap making, it’s essential to choose the right oils. Each essential oil has its unique benefits, aroma, and characteristics. When selecting your oils, consider these factors:
- Aroma
- Therapeutic properties
- Blending compatibility
- Safety and sensitivity issues
Some Great Essential Oils for Soap Making
Here is a list of popular essential oils ideal for soap making:
- Lavender: calming, soothing, and antibacterial
- Tea tree: antifungal, antibacterial, and invigorating
- Peppermint: stimulating, cooling, and refreshing
- Rosemary: energizing, restorative, and antiseptic
- Eucalyptus: decongestant, antiviral, and antibacterial
Basic Soap Making Process
To make soap with essential oils, follow these crucial steps:
1. Collect Ingredients and Tools
Gather the necessary ingredients, including:
- Soap base: glycerin, shea butter, or goat milk
- Essential oils of your choice
- Colorants (optional)
- Additives like herbs or dried flowers (optional)
Also collect these tools:
- Soap mold
- Bowl for mixing
- Measuring spoons
- Whisk or stirring tool
- Double boiler or microwave-safe bowl
2. Melt the Soap Base
Cut the soap base into small cubes and melt it using a double boiler or the microwave. Stir occasionally to ensure even melting.
3. Add Essential Oils and Colorants
Once the soap base is melted, carefully add your chosen essential oils and colorants into the mixture. Use about 0.3-0.6 ounces of essential oil per pound of soap base.
4. Pour into Soap Molds
Pour the mixture into your soap molds, making sure not to overfill them. Tap the mold lightly to release any bubbles.
5. Let the Soap Cool and Harden
Allow the soap to cool and harden for several hours or overnight. Once hardened, gently remove the soap from the molds and let them cure for a few days before using.
Make Soap With Essential Oils Example:
Imagine making a soothing lavender and chamomile soap perfect for a bedtime cleanse. First, melt the shea butter soap base, and then add lavender and chamomile essential oils, along with a few purple soap colorants. Finally, pour this mixture into floral-shaped molds, let it cool and harden, and enjoy the deeply calming sensory experience every time you use your handmade soap.
Now that you know the process of making soap with essential oils, it’s time to embrace this fun and therapeutic hobby. Explore the endless combinations of scents and therapeutic benefits while creating custom soaps for yourself, friends, and family. Don’t forget to share this article with fellow essential oil enthusiasts and browse through Oshu Oils’ range of exquisite essential oils to get started on your soap-making journey.


