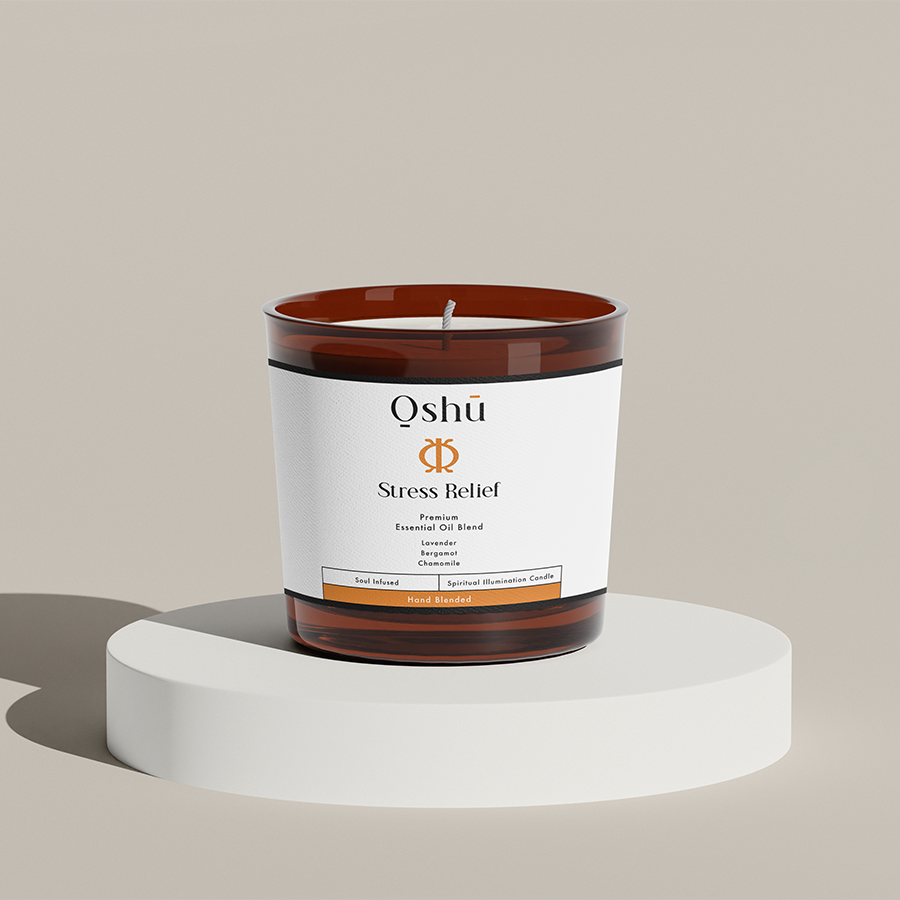
Discover the world of DIY diffusers for essential oils, and learn how easy it is to create your own inexpensive, natural, and beautiful device for diffusing your favourite scents. Let this guide teach you all you need to know about making your own diffusers, so you can enjoy the benefits of aromatherapy in your home without breaking the bank.
Table of Contents
What is a Diffuser and Why Use Essential Oils?
A diffuser is a device that disperses essential oils into the air, providing a natural and fragrant atmosphere. Essential oils, extracted from the essence of plants, have a range of benefits including emotional, mental and physical wellbeing.
Benefits of Essential Oils
- Improve mood and reduce stress
- Enhance sleep quality
- Boost immune system
- Improve respiratory health
- Eliminate unpleasant odors
Types of DIY Essential Oil Diffusers
There are various types of diffusers that you can create by yourself. Here are four popular DIY essential oil diffuser ideas:
1. Reed Diffuser
A reed diffuser consists of a small glass jar, a carrier oil, essential oils and reed sticks. The reeds absorb the essential oil mixture and diffuse it into the air.
Instructions:
- Fill the glass jar with a carrier oil, such as sweet almond oil or fractionated coconut oil. Top it off with 10-20 drops of the essential oil(s) of your choice.
- Stir the oil mixture gently and insert the reeds. After an hour, flip the reeds to saturate the other end and begin the scent diffusion process.
- Flip the reeds every week to keep the aroma strong.
2. Clay Diffuser
A clay diffuser is a small, porous ornament made of air-dry clay that absorbs essential oils and releases them slowly into the air.
Instructions:
- Create a small ornament with air-dry clay in the shape of your choice, such as beads, discs, or other designs. Make sure the clay is as porous as possible to absorb the essential oil.
- Allow the clay to dry for the recommended time on the package.
- Add 2-3 drops of essential oil to the ornament. Allow the oil to absorb completely before hanging or placing it in the desired location.
3. Water Bead Diffuser
A water bead diffuser is a simple and visually appealing way to diffuse essential oils. It’s perfect for decorating small areas like a windowsill or bedside table.
Instructions:
- Soak water-absorbing beads in water until they grow to their full size.
- Fill a small glass container with the water beads and add a few drops of essential oil to the beads.
- Stir gently to ensure even distribution of the oil.
4. Candle Diffuser
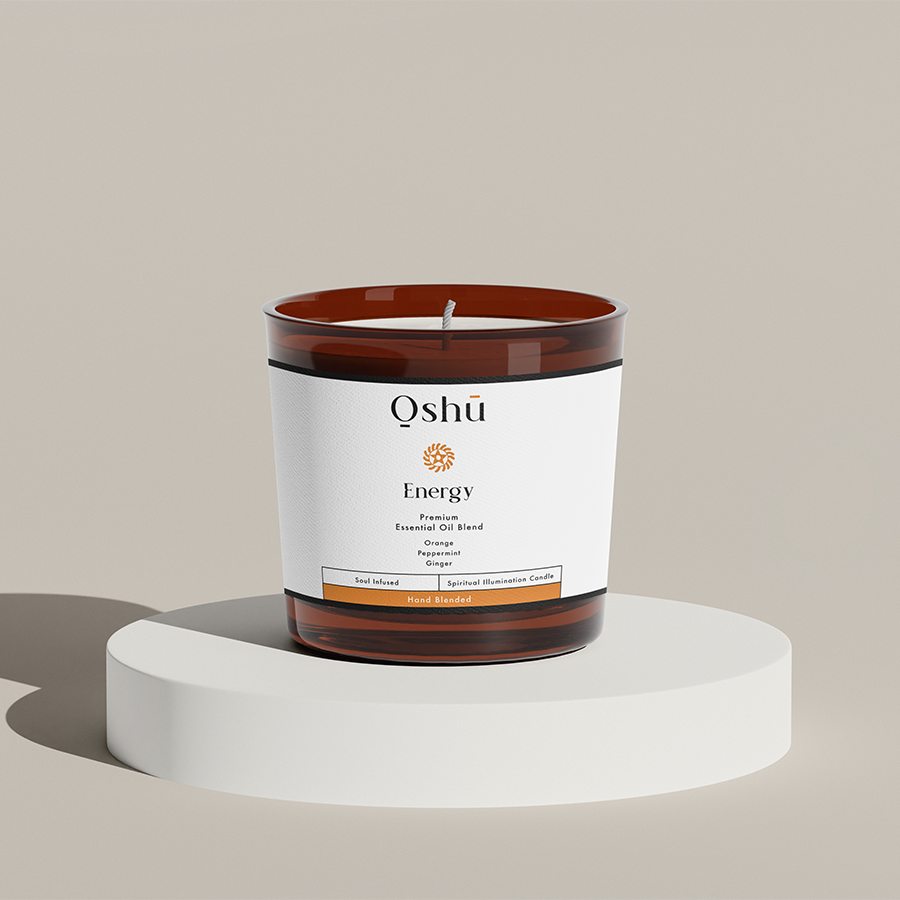
A candle diffuser is a simple and romantic way to enjoy essential oils. It consists of a small dish or bowl containing the essential oil mixture, placed above a candle. The heat from the candle warms the oil, releasing the aroma into the air.
Instructions:
- Fill a small dish or bowl with water and add 5-10 drops of essential oil.
- Place the dish on a candle diffuser holder or above a tealight candle.
- Light the candle and enjoy the aroma as it diffuses throughout the room.
DIY Diffusers For Essential Oils Example:
Imagine coming home after a stressful day at work and walking into a calming, fragrant atmosphere created by your own DIY essential oil diffuser. You sit down on the couch and take a deep breath, feeling your worries melt away as the soothing scent of lavender fills the room.
Now that you know how to create various DIY diffusers for essential oils, you can experience the benefits of aromatherapy in every room of your home. Create a relaxing environment for yourself and your loved ones by incorporating these simple and elegant diffusers into your daily routine. Don’t forget to explore other guides on Oshu Oils and shop our range of essential oils to start creating your perfect atmosphere today!

