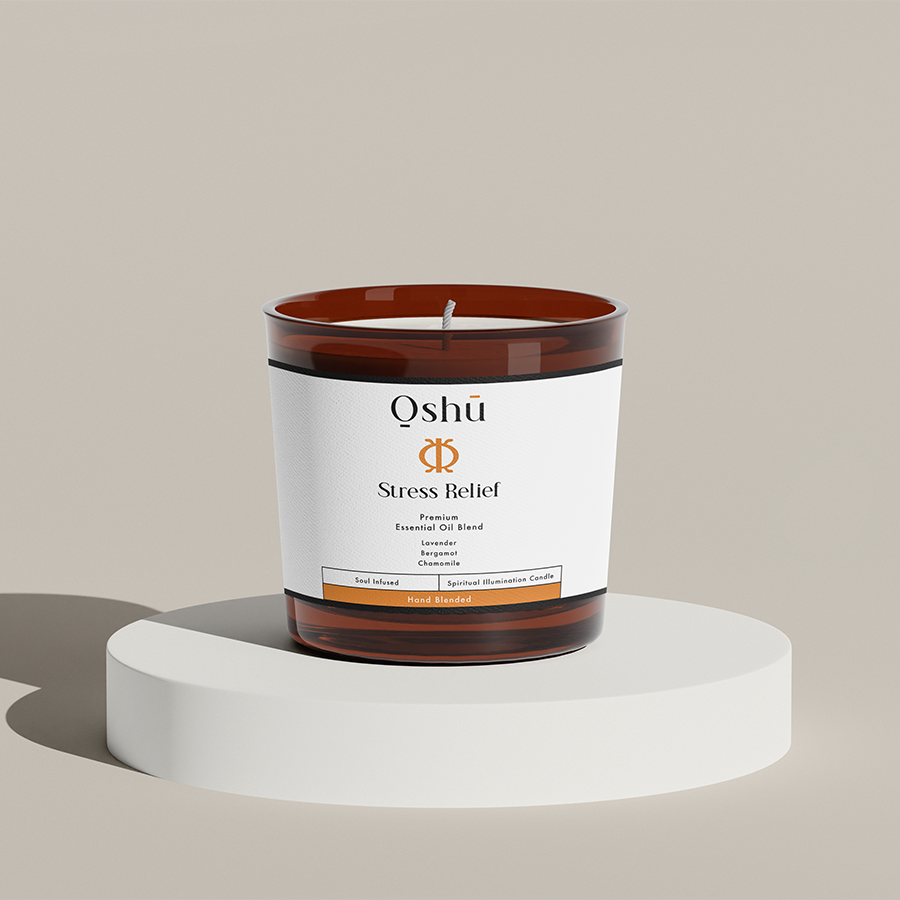
Discover the wonderful world of homemade essential oils and their countless uses in everyday life! In this article, we will uncover the fascinating process of creating your very own essential oils and how you can integrate them into various aspects of your daily routine.
Table of Contents
Why Make Your Own Essential Oils?
Essential oils offer a variety of physical and psychological benefits. By creating your own, you gain control over the quality and purity of ingredients, ensuring they are untarnished by chemical additives or synthetic fragrances. Plus, crafting your own essential oils can be cost-effective and eco-friendly, makes for a fun hobby, and allows for personalized blends tailored to your specific needs.
What You Need to Get Started
To get started making your own essential oils, gather the following supplies:
- Plant material (flowers, herbs, citrus peels, etc.)
- Aromatic carrier oil (sweet almond, grapeseed, or jojoba oil)
- Crockpot or glass jar for infusion
- Cheesecloth or coffee filter for straining
- Dark glass bottles for storage
- Labels and permanent marker
Now that you have everything you need, let’s dive into the process.
The Process of Creating Homemade Essential Oils
Creating your own essential oils can be accomplished through cold infusion or heat infusion methods.
Cold Infusion Method:
This method is best suited for delicate plants and flowers with a high oil content. Follow these steps:
- Gently wash and pat dry the plant material to remove any dirt or debris.
- Place the plant material inside a glass jar.
- Pour the carrier oil over the plant material, fully immersing it in the oil.
- Seal the jar and store it in a cool, dark place for 4-6 weeks. Shake the jar daily to help release the plant’s oils into the carrier oil.
- When the infusion period is complete, strain the oil through cheesecloth or a coffee filter.
- Transfer the final product to a dark glass bottle, label it, and store it in a cool, dark place.
Heat Infusion Method:
Perfect for harder materials like citrus peels, spices, and woody herbs, follow these steps for heat infusion:
- Prepare the plant material by washing, drying, and cutting or crushing it into small pieces.
- Combine the plant material and carrier oil in a crockpot on low heat for up to 24 hours.
- Afterward, strain the oil as described above and store it in a dark glass bottle.
Homemade Essential Oils Example:
For a calming homemade essential oil, try creating your own lavender-infused oil. Gather fresh lavender flowers, sweet almond oil, a glass jar, cheesecloth, and a dark glass bottle for storage. Utilizing the cold infusion method, follow the steps above and prepare your infusion. After 4-6 weeks, strain the oil, and you’ll have a homemade lavender essential oil ready to be used in a diffuser, added to bathwater, or applied topically (diluted) for relaxation and stress relief.
Now that you’ve learned the process of making your own essential oils, embrace the endless possibilities of blends and applications suited to your unique needs and preferences. Share this article with friends and family and explore the Oshu Oils blog for more insights, recipes, and guides in the realms of essential oils and aromacology. Don’t forget to also check out the Oshu Oils range of high-quality, artisan essential oils to further enhance your aromatherapy experience.

