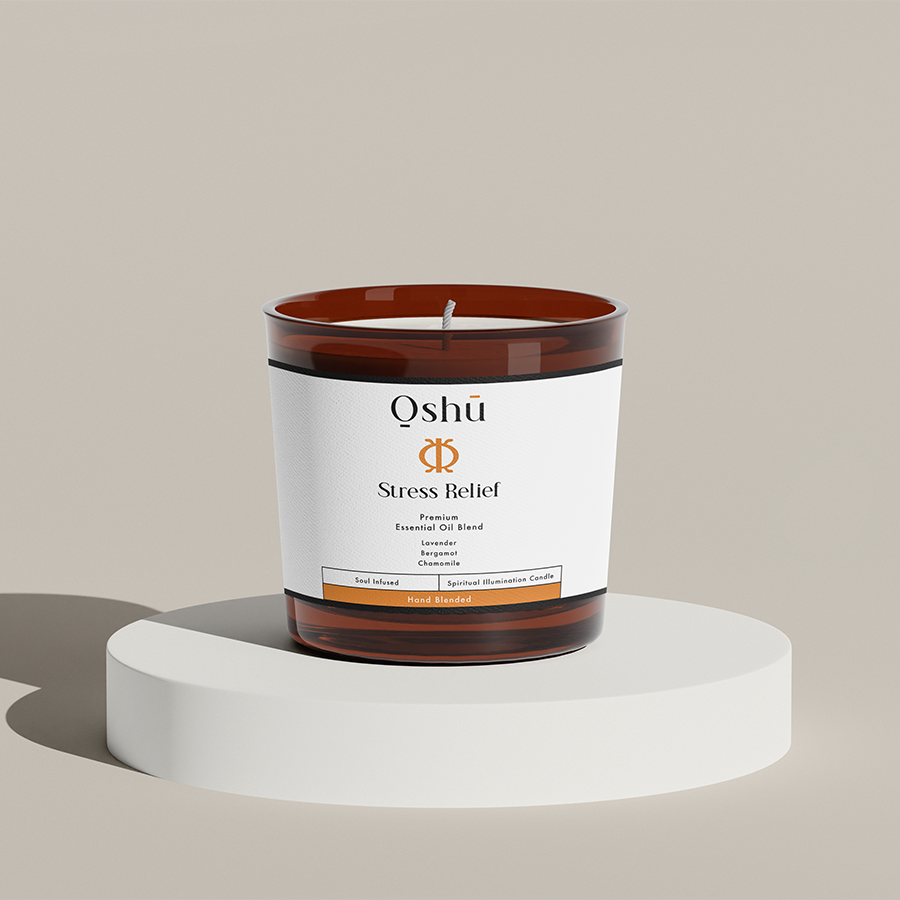
Unleash the power of lemon with your very own homemade lemon essential oil! This tangy, zesty oil is prized for its refreshing aroma and countless benefits for your wellbeing. Join us as we guide you step by step through the process of making your own lemon essential oil from the comfort of your home. Trust us; it’s easier than you think!
Table of Contents
Why Lemon Essential Oil?
Lemon essential oil is a powerful natural remedy that boasts a wide range of benefits. It has been known to help combat stress, boost mood, promote mental clarity, improve digestion, and work as a natural cleanser and disinfectant. Its rich, invigorating scent has made it a favorite among essential oil enthusiasts.
Choosing the Right Lemons
Quality is key when creating your own essential oil, so start by selecting fresh, organic lemons. Organic lemons ensure that your essential oil will be free from pesticides and other harmful chemicals. Look for lemons with a bright yellow, smooth skin, as they’ll yield the best results.
Gathering Your Supplies
Before getting started, gather the following supplies:
- Fresh organic lemons
- A vegetable peeler or sharp knife
- A clean glass jar with a tight-fitting lid
- Carrier oil, such as almond or grapeseed oil
- A fine mesh strainer or cheesecloth
- A small funnel (optional)
- Dark glass bottles for storage
Step-by-Step Guide to Make Lemon Essential Oil
- Clean Your Lemons: Start by thoroughly washing and drying your organic lemons. This step ensures that any lingering dirt or debris is removed, and that you’re starting with a clean canvas for your essential oil.
- Peel Your Lemons: Using a vegetable peeler or a sharp knife, carefully remove the outer layer of the lemon peel, trying to avoid the white pith as much as possible. The essential oil is found in the outer layer of the peel, so this is the part you want to collect. Aim for thin strips or smaller zest; this will make the extraction process more effective.
- Fill Your Jar: Place the lemon peels in the clean glass jar, filling approximately half of the jar. Keep in mind that you’ll be adding carrier oil to the jar, so don’t fill it to the brim with lemon peels.
- Add the Carrier Oil: Pour your carrier oil over the lemon peels until they are fully submerged. The carrier oil acts as a solvent to extract the essential oil from the lemon peels. Secure the lid on the jar, ensuring a tight seal.
- Infuse Your Oil: Place the jar in a sunny window, allowing the mixture to infuse for at least two weeks. Make sure to give the jar a good shake every day to help facilitate the extraction process.
- Strain Your Oil: After the infusion period, use a fine mesh strainer or cheesecloth to separate the lemon-infused oil from the spent lemon peels. It’s recommended to strain the oil into a dark glass bottle, as sunlight can degrade your lemon essential oil over time.
- Enjoy Your Essential Oil: Your homemade lemon essential oil is now ready for use! Make sure to store it in a cool, dark place to preserve its therapeutic properties and extend its shelf life.
How To Make Lemon Essential Oils Example:
Imagine starting your day with a whiff of your freshly made lemon essential oil, invigorating your senses and leaving you feeling energized. Diffuse a few drops to create a bright, uplifting atmosphere at home, or treat yourself to an invigorating massage with your lemon-infused carrier oil. The possibilities are endless and made even more special by the fact that you created this essential oil yourself.
Congratulations, you’re now a master at making your own lemon essential oil! We hope you enjoy the uplifting and energizing benefits that this essential oil can bring to your life. Don’t forget to share your newfound expertise with friends and family, and encourage them to create their very own lemon essential oil. Remember, Oshu Oils is here to support your journey in aromacology and essential oil knowledge. Be sure to check out our other guides on essential oils and explore the Oshu Oils range of premium essential oils to complement your homemade creations. Happy oil making!


