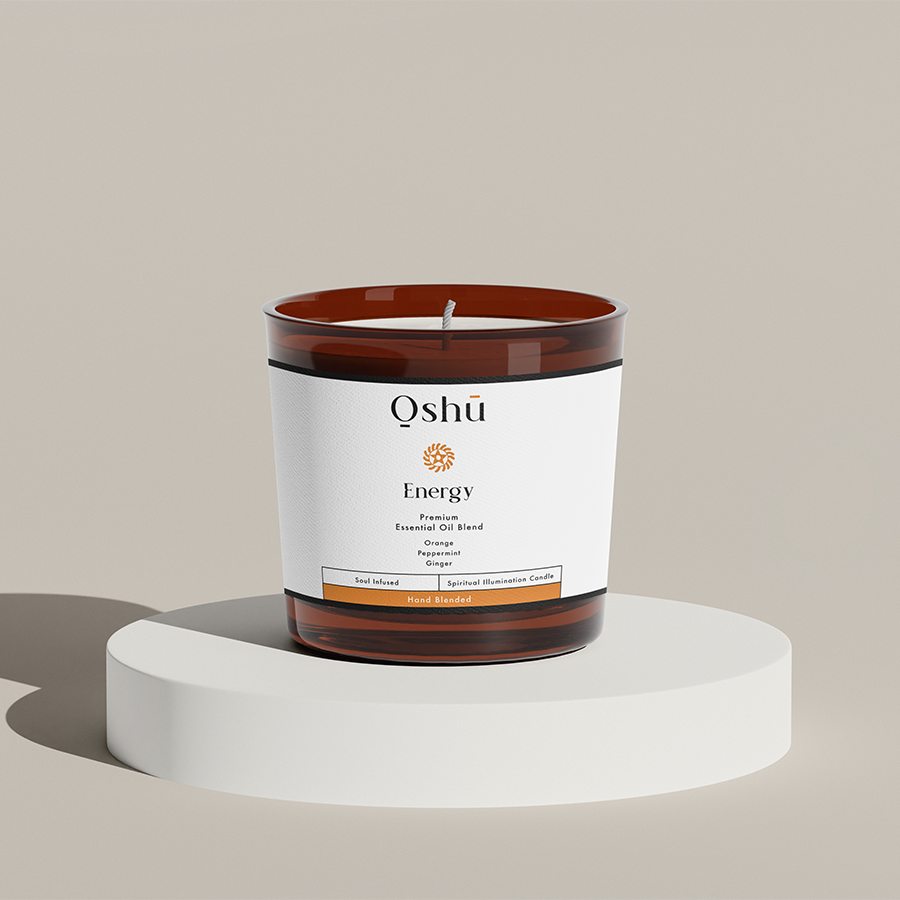
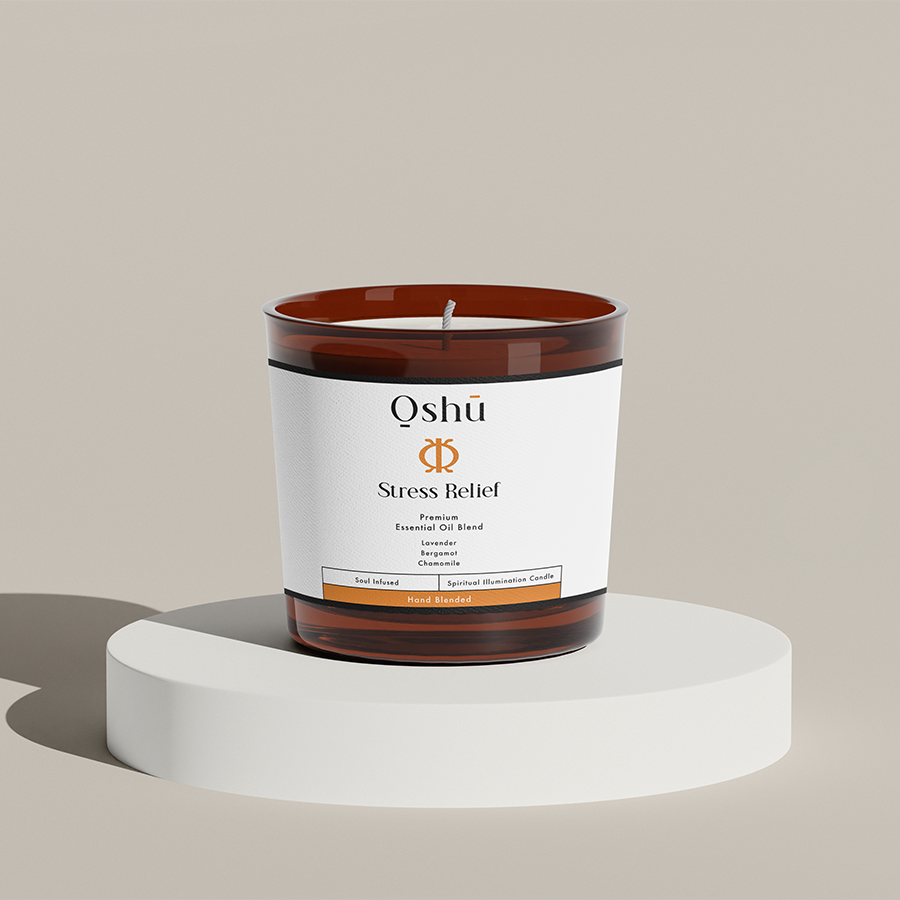
Do you love the idea of filling your home with calming, uplifting, and rejuvenating scents from essential oils? What better way to create a soothing environment than incorporating them into your own DIY scented candles! In this guide, we will walk you through the process of making your own beautifully fragrant candles using essential oils, and share some expert tips and tricks to make sure your candles are a stylish, safe, and scented addition to any room.
Table of Contents
What You’ll Need
To get started on your scented candle-making journey, gather the following supplies:
- Natural wax: soy, beeswax, or coconut wax are popular choices
- Essential oils: choose your favorite Oshu Oils blends or single-note oils
- Wicks: cotton or wood
- Candle containers: glass jars, ceramic vessels, or metal tins
- Thermometer: essential for monitoring the wax temperature
- Double boiler: or a heat-safe bowl over a pot of water
- Stirring utensil: a wooden or silicone spatula or spoon
- Wick stickers or hot glue: to secure the wick to the container
- Clothespins or wick holders: to keep the wick centered and straight
Step-By-Step Guide: Making Scented Candles with Essential Oils
- Prepare your work area by covering it with paper or a heat-resistant surface. Assemble all your materials and make sure your containers are clean and dry.
- Set up your double boiler by filling the bottom pot with water and placing the heat-safe bowl or top pot over it. Place the thermometer in the bowl. Be sure to monitor the temperature throughout the process.
- Determine the amount of wax needed for your project by filling your chosen container with water, then pour that water into a measuring cup. Multiply the amount of water by 0.85 to account for the shrinkage when the wax cools.
- Turn on the heat and add the appropriate amount of wax to the double boiler to begin melting. Soy wax melts at around 170°F (77°C), while beeswax melts at 145°F (63°C) and coconut wax at 130°F (54°C).
- While the wax is melting, secure the wick to the bottom of your container using a wick sticker or hot glue. Use a clothespin or wick holder to keep the wick centered and straight as the candle cools.
- Once the wax reaches the desired temperature, remove it from the heat and let it cool to around 120-140°F (48-60°C). Now, it’s time to add your essential oils! For a 6oz candle, use about 20-25 drops of your chosen Oshu Oils blends or single-note oils. Be sure to stir the wax gently for 1-2 minutes to fully incorporate and evenly distribute the oils.
- Carefully pour the scented wax mixture into your prepared container. Allow the candle to cool and set for at least 24 hours, or even longer for larger candles. The longer you let it set, the better the fragrance throw will be when you burn it.
- Once your candle has completely hardened, trim the wick to about ¼ inch (6mm) before lighting. This will ensure a clean and even burn. Enjoy the calming, uplifting, and rejuvenating scents of your homemade essential oil candles!
Choose Your Wax and Melt It
Secure the Wick
Add Your Essential Oils
Pour the Wax and Let It Set
Trim the Wick and Enjoy!
How To Make Scented Candles With Essential Oils Example:
Imagine unwinding after a long day with a homemade lavender and eucalyptus scented candle by your side, filling your living room with a relaxing and refreshing aroma. It’s the perfect companion for a quiet night in, reading a book, or enjoying a warm bath. Feel the satisfaction of knowing that you made the candle yourself, using only your favorite Oshu Oils essential oils, and natural materials.
Now that you have discovered the world of creating scented candles with essential oils, the opportunities and combinations are endless. Experiment with different Oshu Oils blends to match your mood, or even create your own personalized scents to gift to friends and family. If you’ve enjoyed this guide, please share it with others who might be interested in learning the art of candle-making. Be sure to explore our other guides on the Oshu Oils blog and discover the wide range of essential oils we offer to bring even more harmony to your everyday life. Happy crafting!

