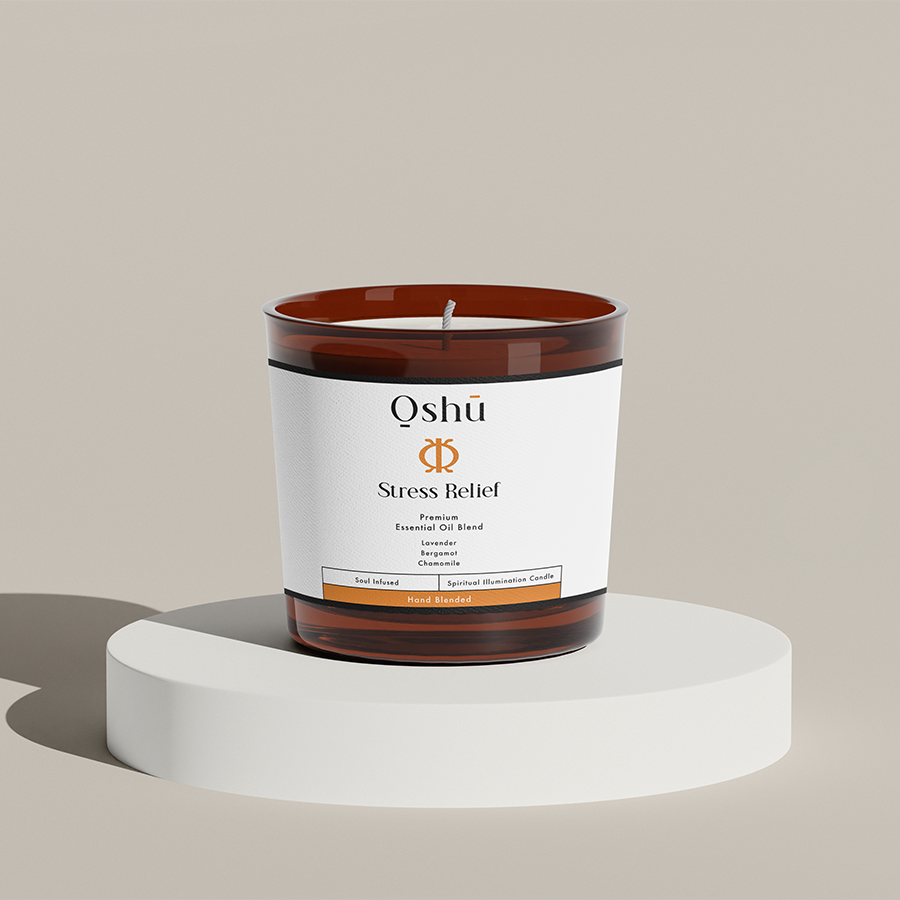
Essential oils have become an increasingly popular addition to skincare routines, thanks to their potent natural properties and mesmerizing aromatic benefits. Why not take the next step and create your very own delectable essential oil blends specifically designed for your unique skin needs? This guide will walk you through the process of making your own essential oils for skin, as well as sharing some tips and tricks for blending the perfect potion.
Table of Contents
Step 1: Choose Your Base Oils
Before you begin, it’s important to select the right carrier oils to act as the base of your essential oil blend. These oils are generally mild and non-irritating, allowing them to dilute and safely deliver the potent essential oils to your skin. Some popular carrier oils include:
- Jojoba Oil: Lightweight and easily absorbed, it closely resembles the skin’s natural sebum.
- Argan Oil: Rich in vitamins and fatty acids, making it great for nourishing dry or aging skin.
- Sweet Almond Oil: Suitable for most skin types, including sensitive skin, it has excellent moisturizing properties.
- Coconut Oil: Solid at room temperature, it provides a thicker texture and is perfect for homemade balms or body butters.
Step 2: Choose Your Essential Oils
Next, pick the essential oils that address your specific skin concerns. Here are some popular options for various skin types and issues:
- For Acne-prone Skin: Tea Tree, Lavender, and Geranium oils have antibacterial and anti-inflammatory properties to help combat breakouts.
- For Dry Skin: Chamomile, Sandalwood, and Frankincense are intensely hydrating and can help soothe irritated, flaky skin.
- For Aging Skin: Rose, Helichrysum, and Myrrh can improve elasticity and encourage cell regeneration for firmer, more youthful skin.
- For Sensitive Skin: Neroli, Blue Tansy, and Roman Chamomile are known for their calming effects, helping to reduce redness and irritation.
Keep in mind that essential oils are highly concentrated and should never be applied undiluted to the skin. To ensure proper dilution, use the following guidelines:
- For facial applications, use a 1% dilution ratio (about 6 drops of essential oil per 1 oz. carrier oil).
- For body applications, use a 2-3% dilution ratio (12-18 drops of essential oil per 1 oz. carrier oil).
Step 3: Blend and Store
Combine your chosen carrier oil and essential oils in a dark glass bottle to protect the blend from light, which can degrade its potency over time. Shake the bottle gently to mix the oils together, and voila! Your personalized essential oil blend is ready.
Remember to perform a patch test on a small area of skin before using your new blend. If irritation occurs, discontinue use and consult a healthcare professional.
How To Make Your Own Essential Oils For Skin Example:
Imagine you have dry skin and would like to create a nourishing facial oil blend. Following the steps above, you might choose the following ingredients:
Carrier Oil: Argan Oil (1 oz.)
Essential Oils:
– Chamomile (2 drops)
– Sandalwood (2 drops)
– Frankincense (2 drops)
Combine these oils in a 1 oz. dark glass bottle, and gently shake before each use.
Now that you know how to make your own essential oils for skin, you can enjoy the benefits of a personalized, all-natural skincare solution tailored to your unique needs. Experiment with different oils and blends to find the perfect concoction for your skin type. Loved this DIY guide? Go ahead and share it with friends and family, or explore other fascinating guides and products on the Oshu Oils blog. Dive into the world of Oshu Oils’ artisan essential earth oils to enhance your wellbeing and elevate your skincare game to new heights.

